Learn more about
all A+W Smart Companion changes
Production - Main Scanning Page
Camera Mode
Hardware Mode
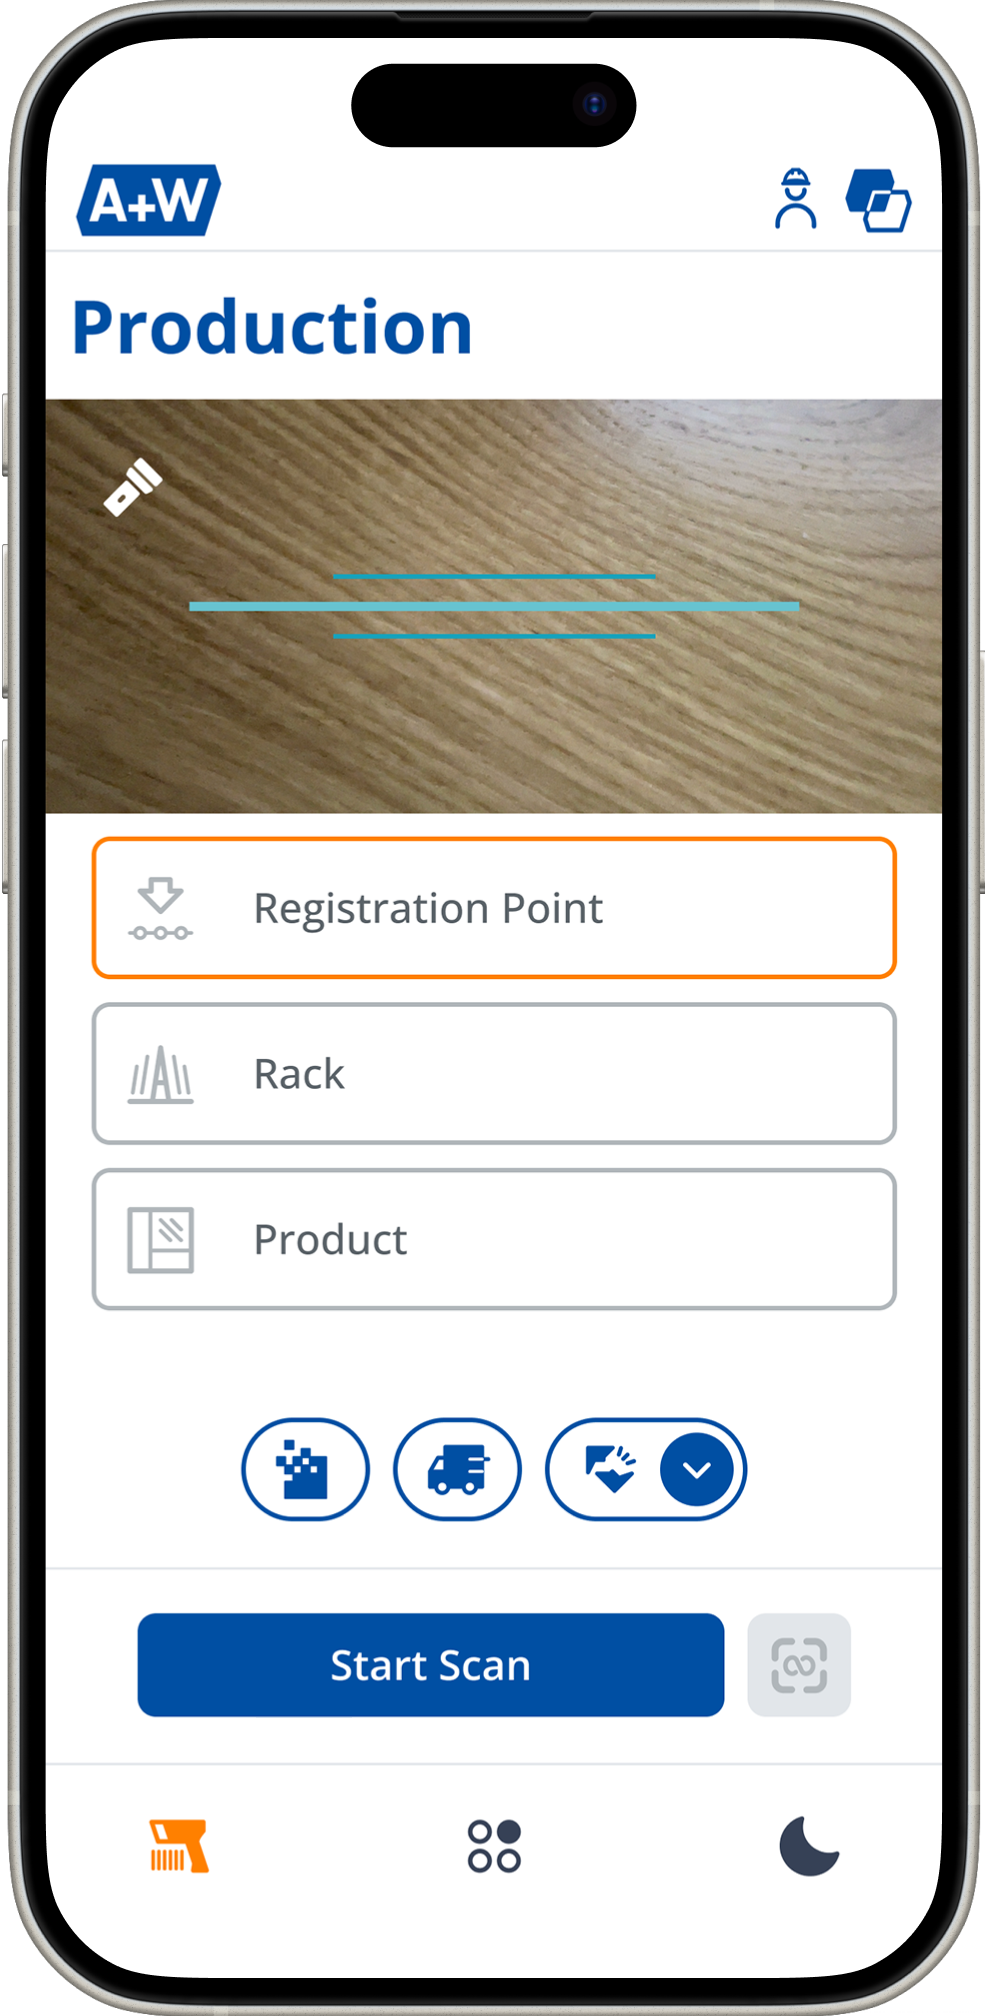
Fast Module Switch
Are you using A+W Smart Companion Production and Stock on one device? Once you are logged in both modules, you can easily switch between them using this button.
New user login right on the main page
Access the most important functions to report empty and unavailable racks and breakage
Improved position to easily start the scanning process
Start continuous scanning with just a click
Hardware Mode
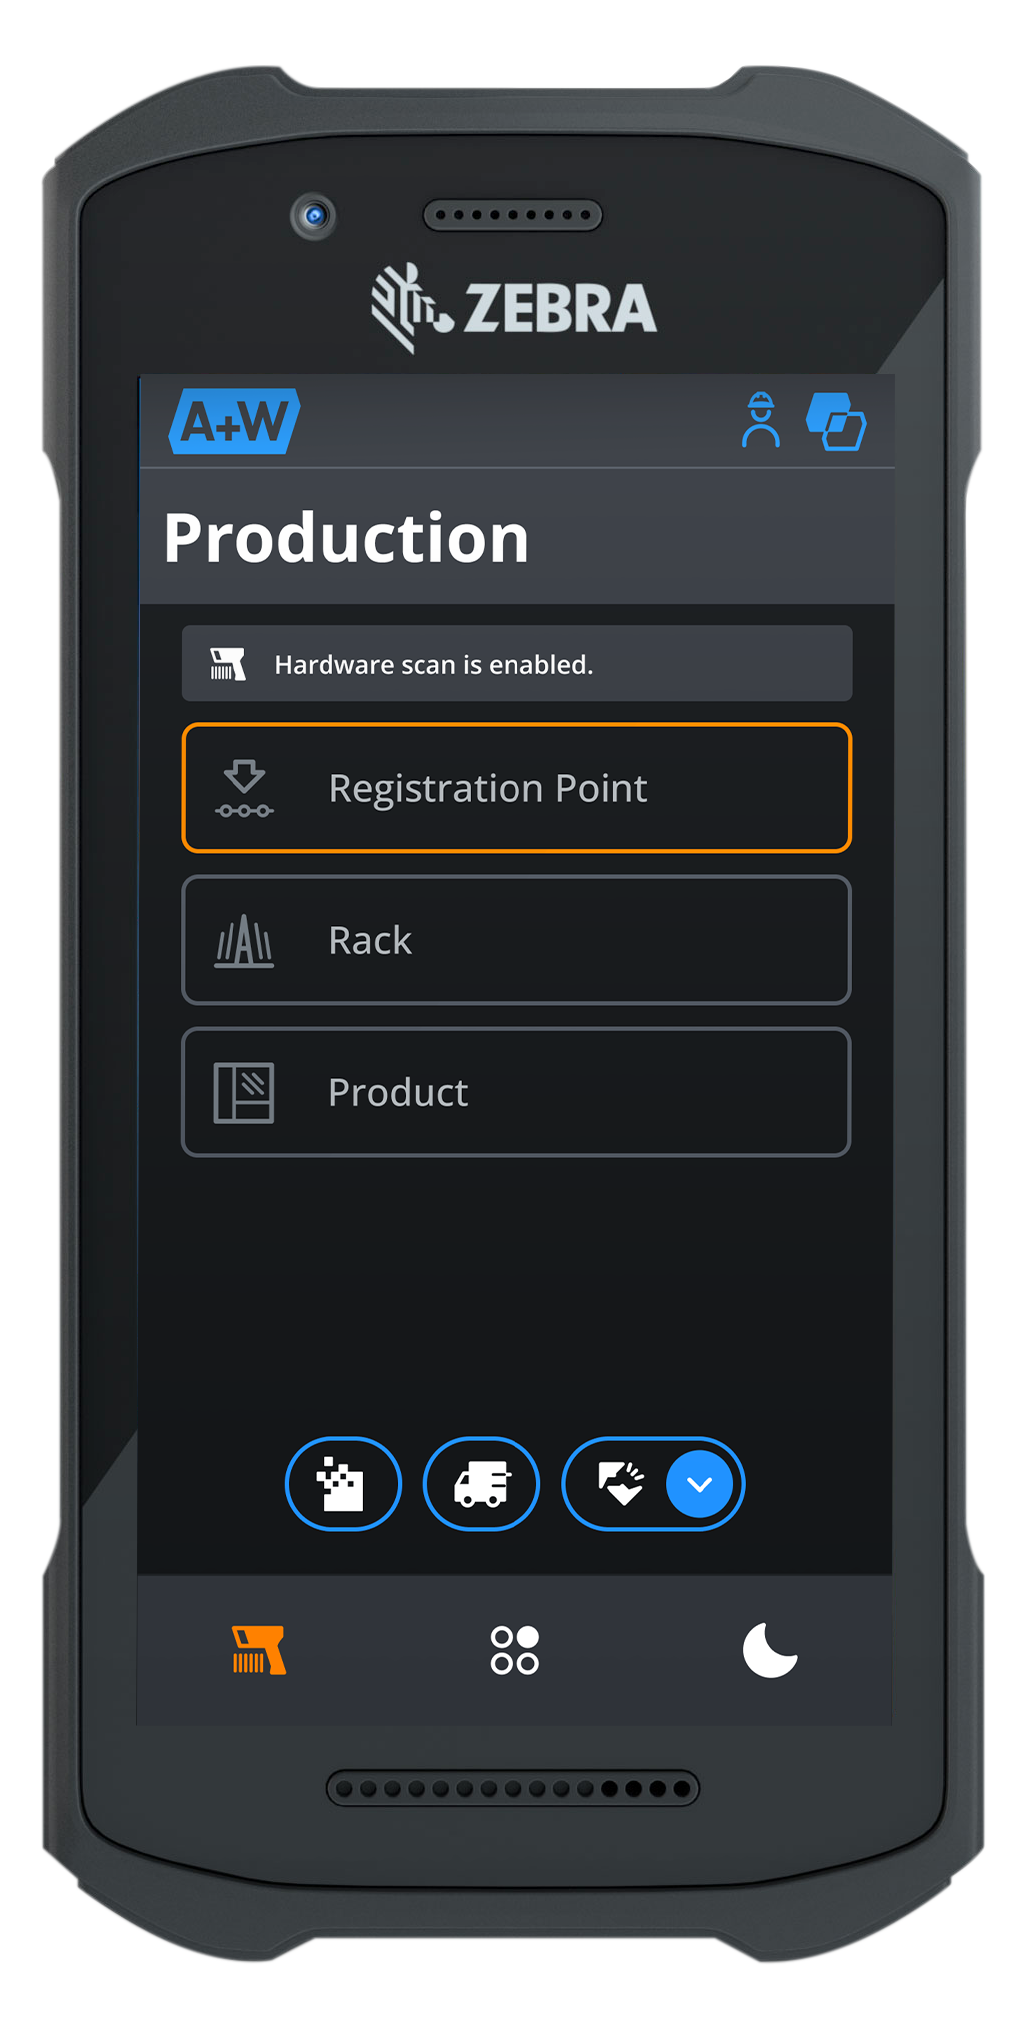
User guidance
In the user interface, your employees can see directly what the next action is and what is possible. The next step is colored orange.
Action Color
In the new interface we use orange to quickly recognize which functions are activated
Production – Hardware Mode
Main Scanning Page
Status Scanning Page
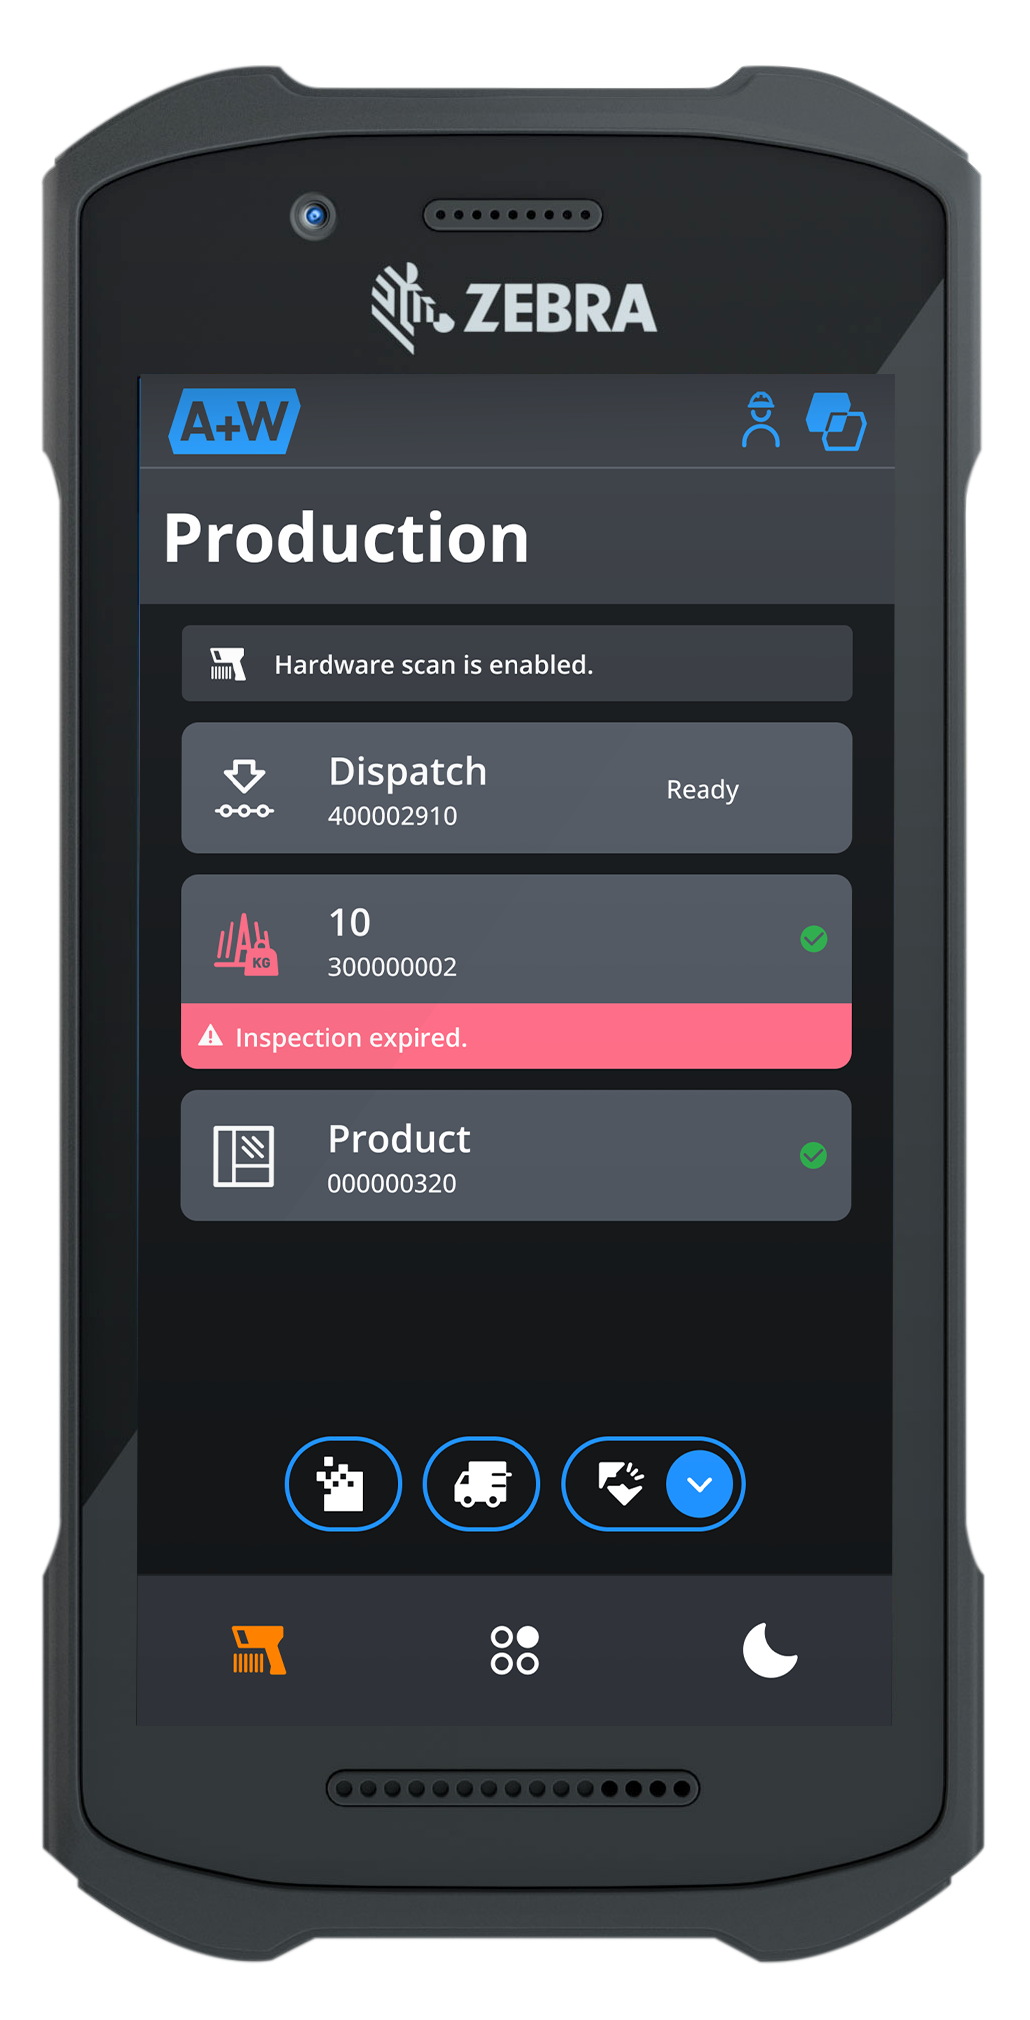
The reported machine status is directly visible on the main page. Whether fault, maintenance, pause or ready for operation.
Warnings
Your users are informed by notices and warning messages. In the event of real problems, the employee must confirm the message so that no information is lost. A negative tone is emitted on the device and the screen is colored.
Simple notifications disappear after a moment and the employee can continue working without interruption.
Status Scanning Page
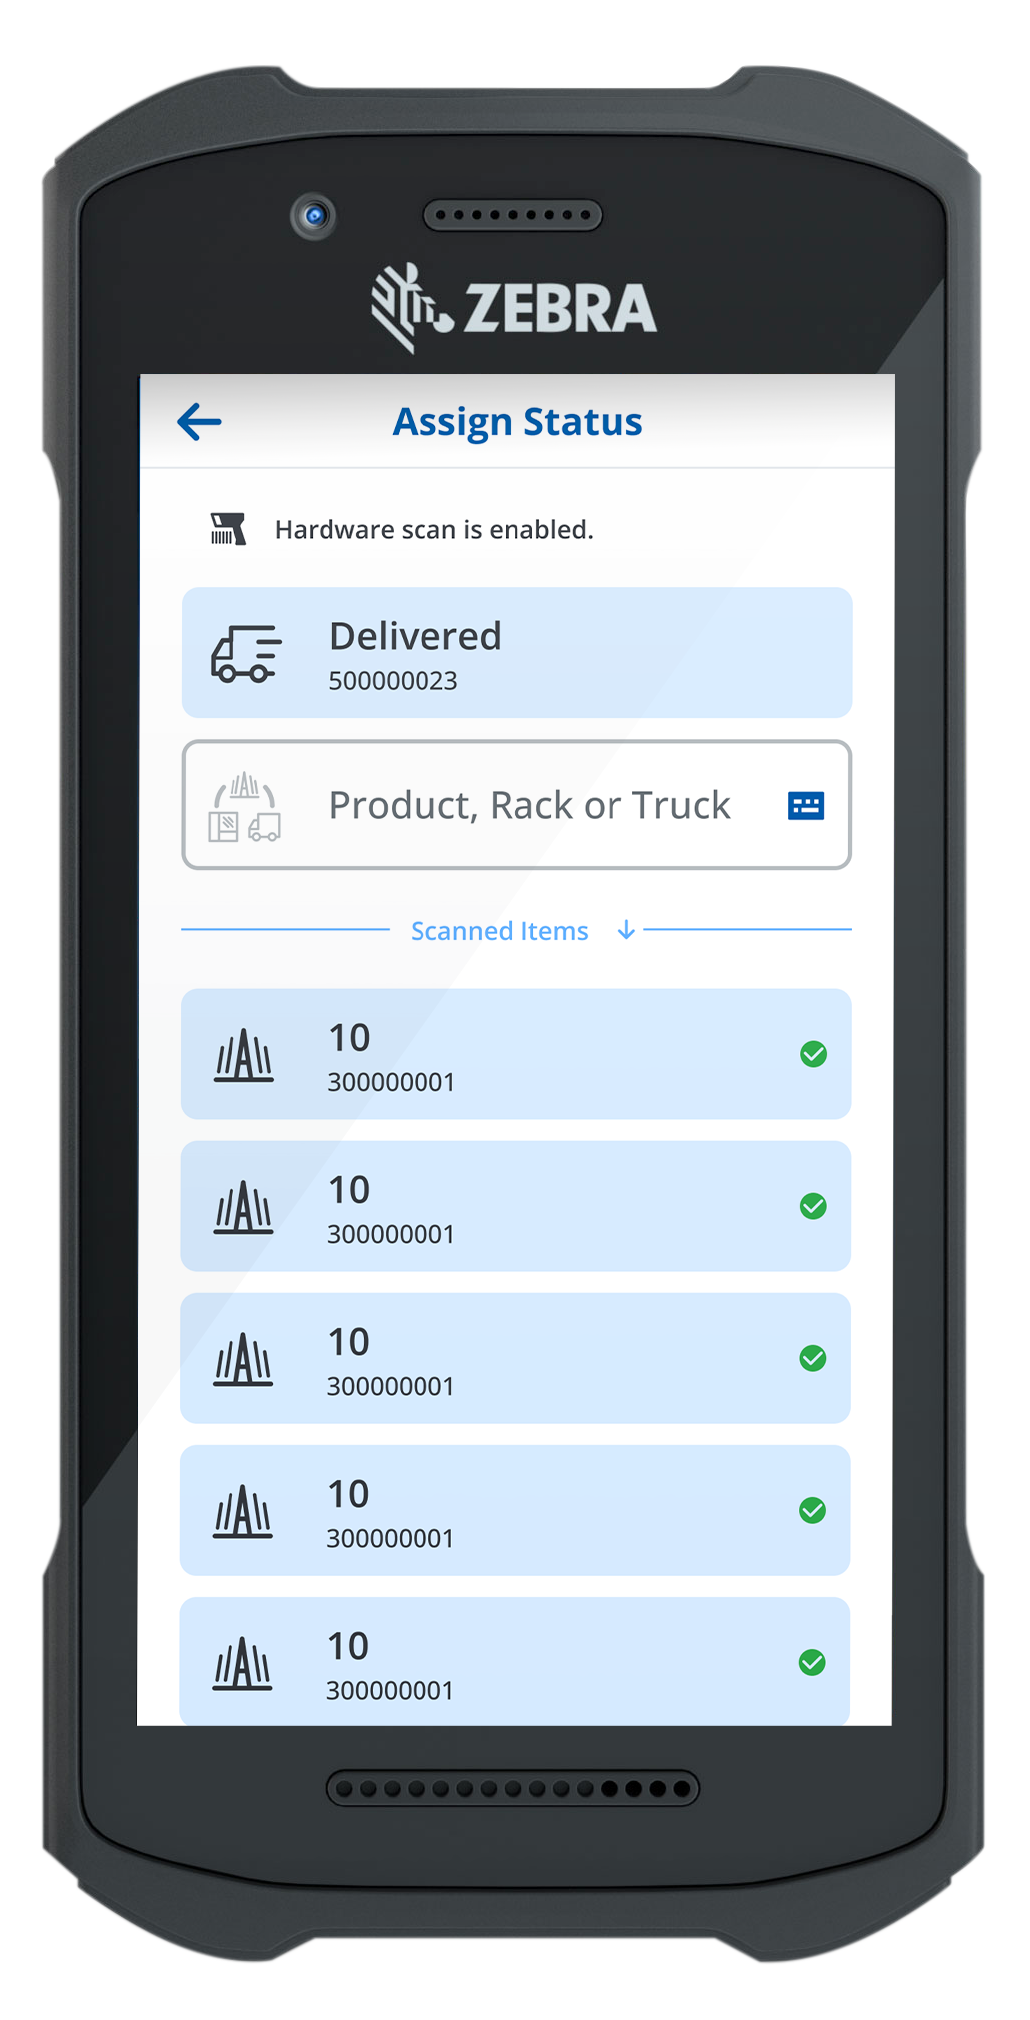
Simple and intuitive navigation
After completing the action, simply go back to the previous page and continue where you left off.
New assign status page
By scanning a status, for example, a pane can be broken or a rack can be delivered without interacting with the touch screen. The scanner switches to the corresponding mode.
Fast Delivery
Need to deliver multiple racks? Previously, each status had to be assigned individually—still required for breakages. With Fast Delivery, you can now book multiple racks at once. The A+W Smart Companion adapts based on how you access the page: via UI or scanning. When scanning, the screen closes automatically after 5 seconds, allowing employees to keep their gloves on.
Production
Order Location Info
Process Info
Rack Info
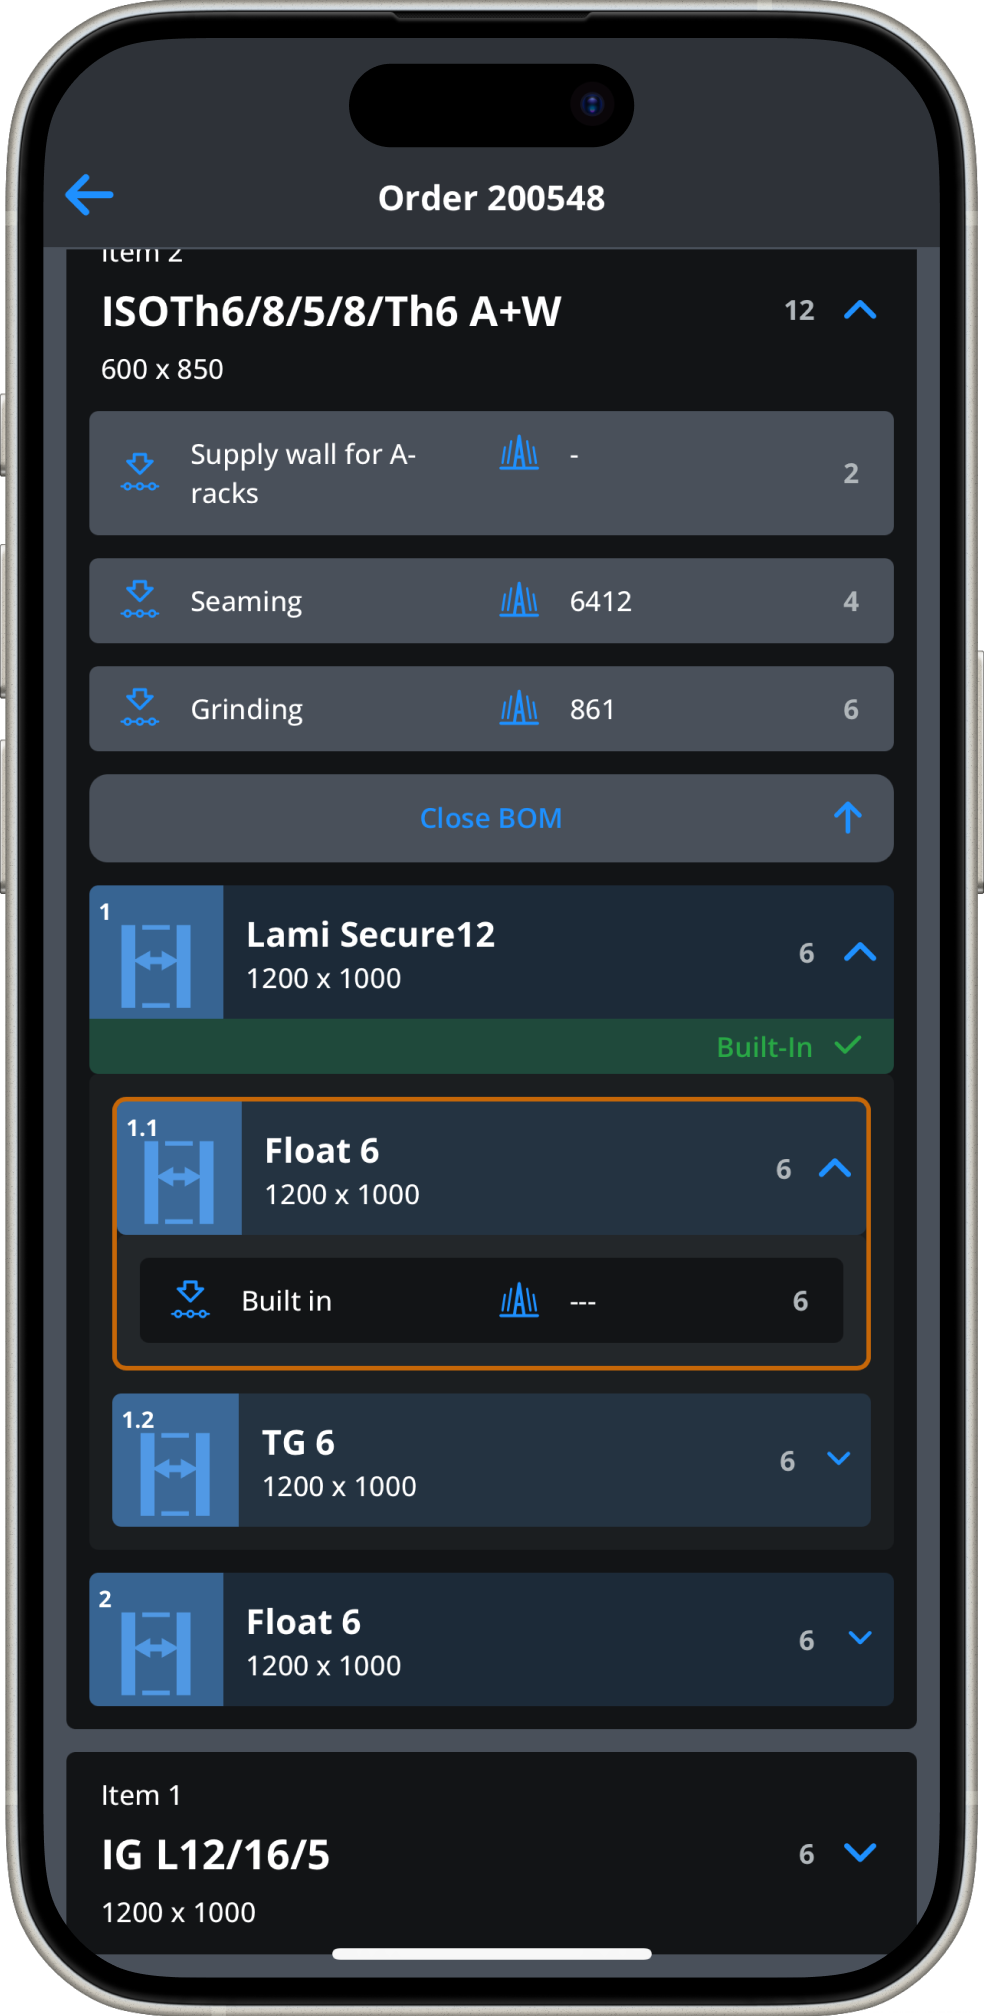
Introducing subpart locations!
You can now easily find subparts of IG / LGs around your shopfloor
The information page is accessible by scanning a barcode. The related item is highlighted by an orange box.
Process Info
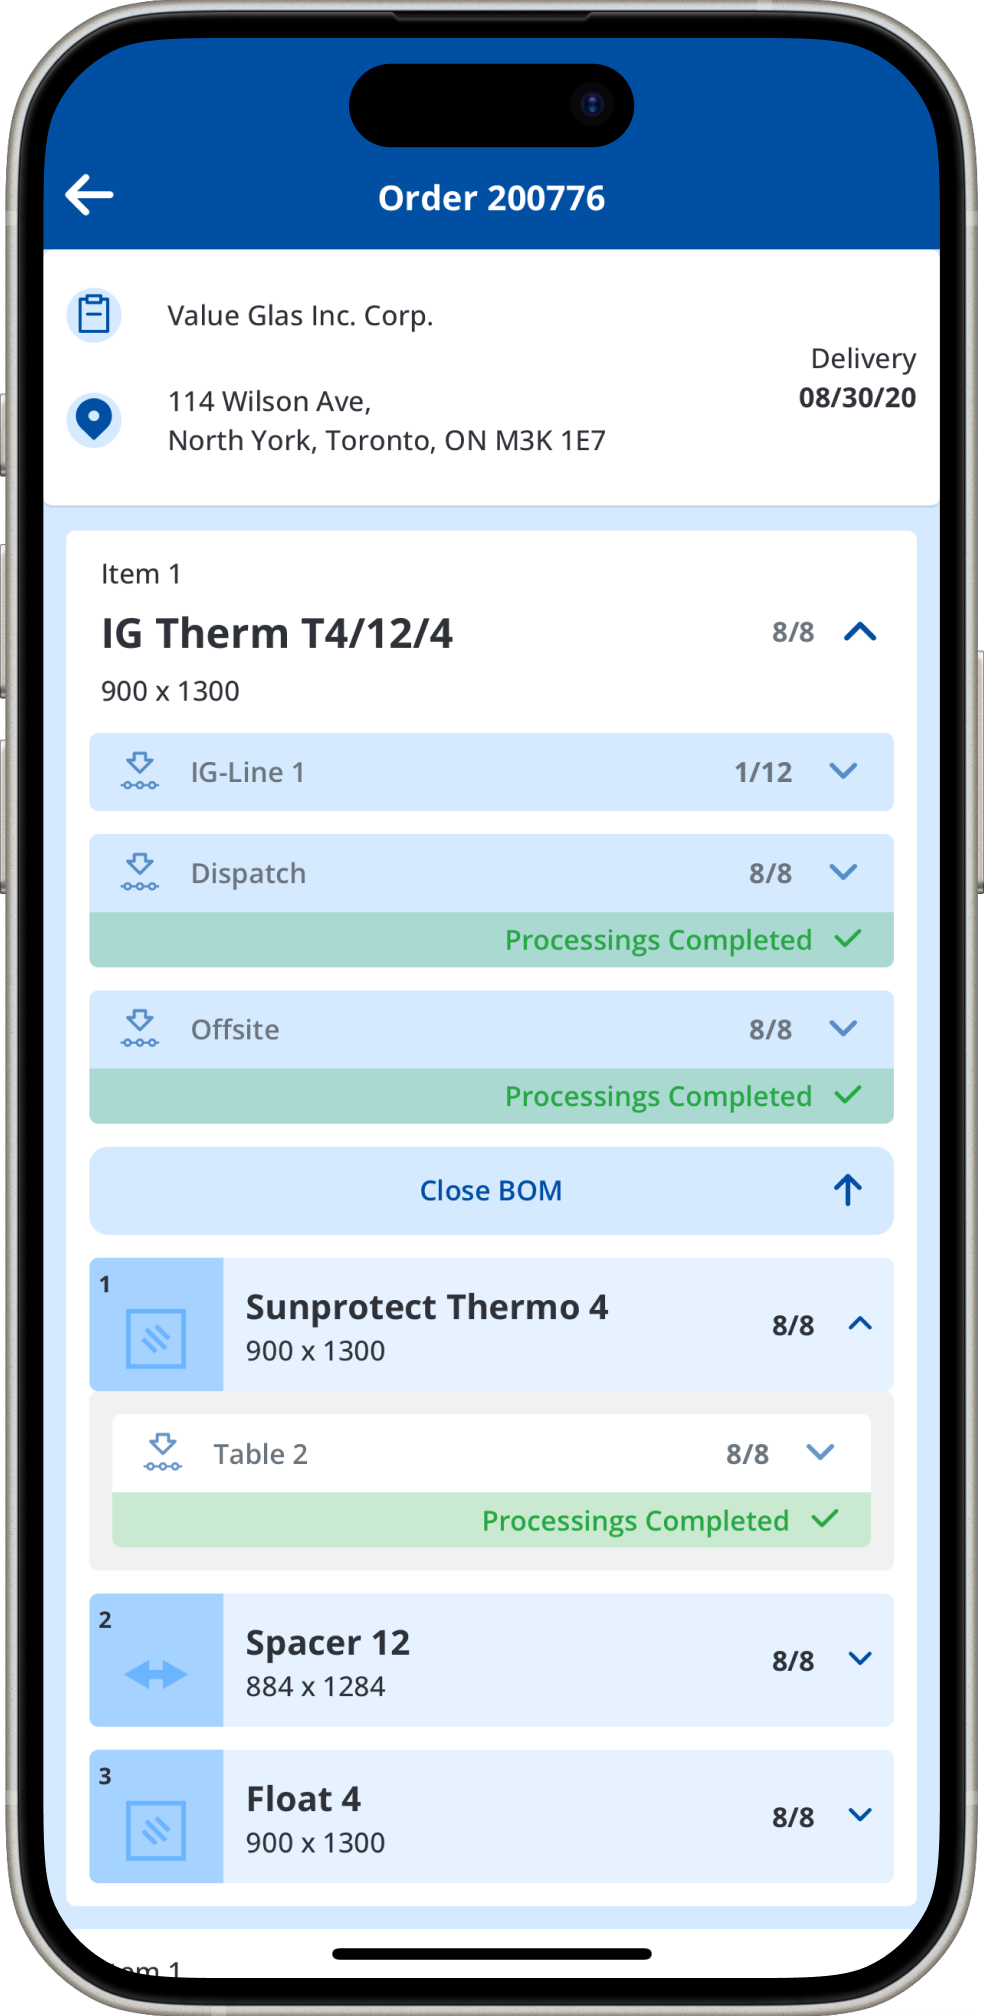
More information at first glance. UI is focusing on the essentials. Still all information is availabe by opening deep level of the elements.
By scanning we jump directly to this level.
Rack Info
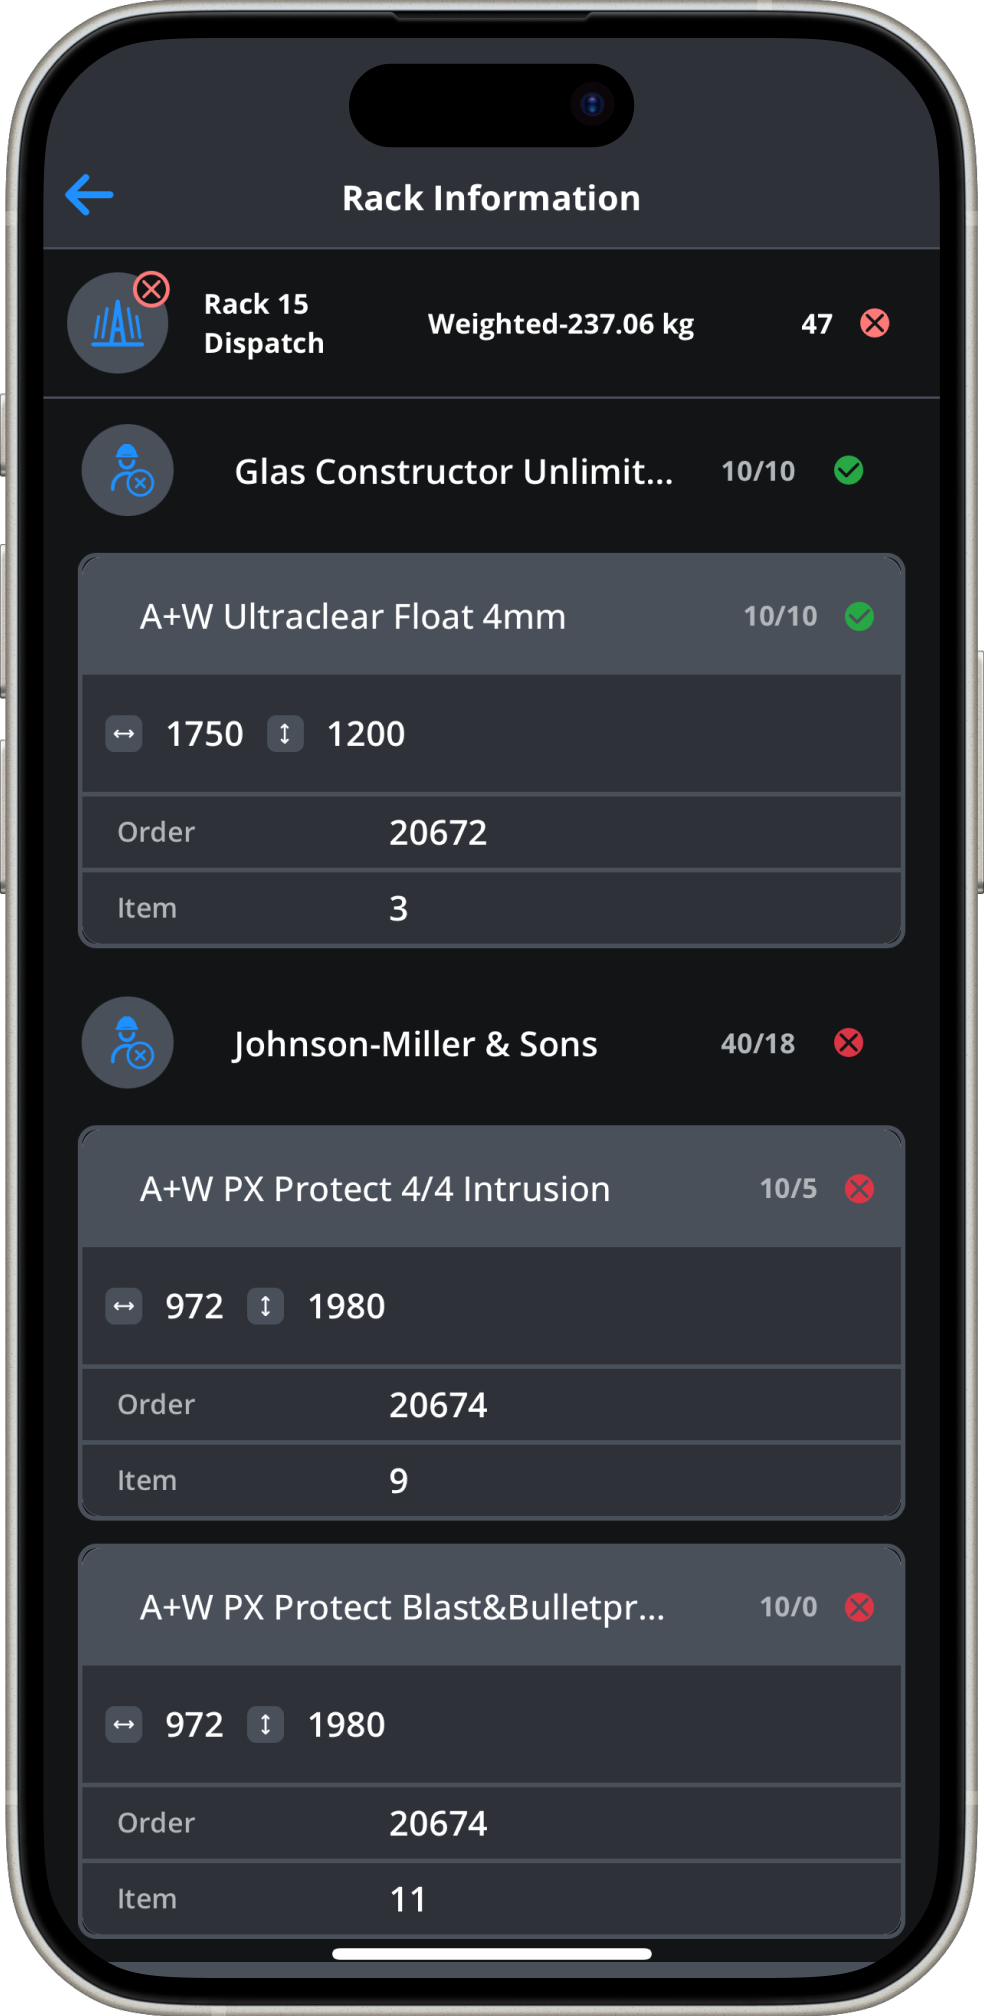
New map view for a better overview
Stock
Receipt of Goods
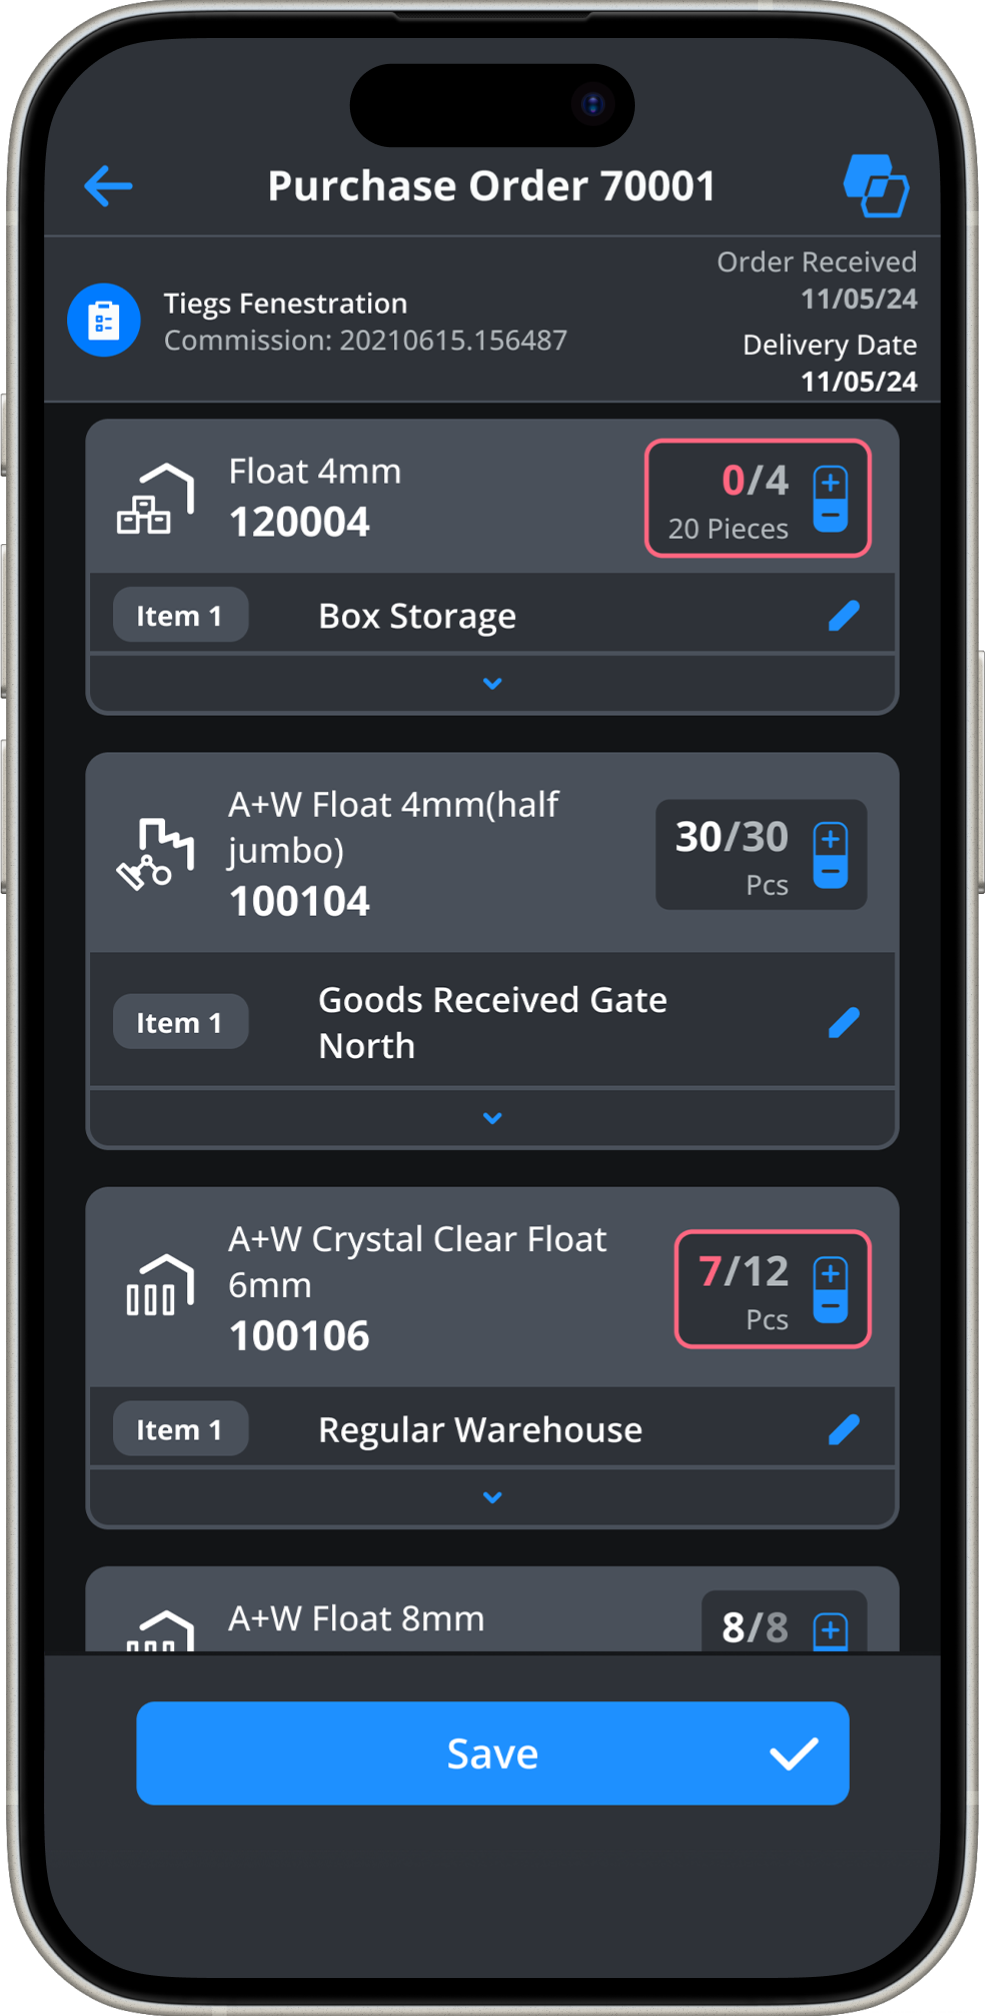
Updated User Interface
Improved readability and easy to identify icons
Improved scaling and clear colour feedback
Focus on what’s important
Details are hidden to see only important information at a glance
No hidden functions
All interactions are accessible with one button for effective navigation.
Settings Page
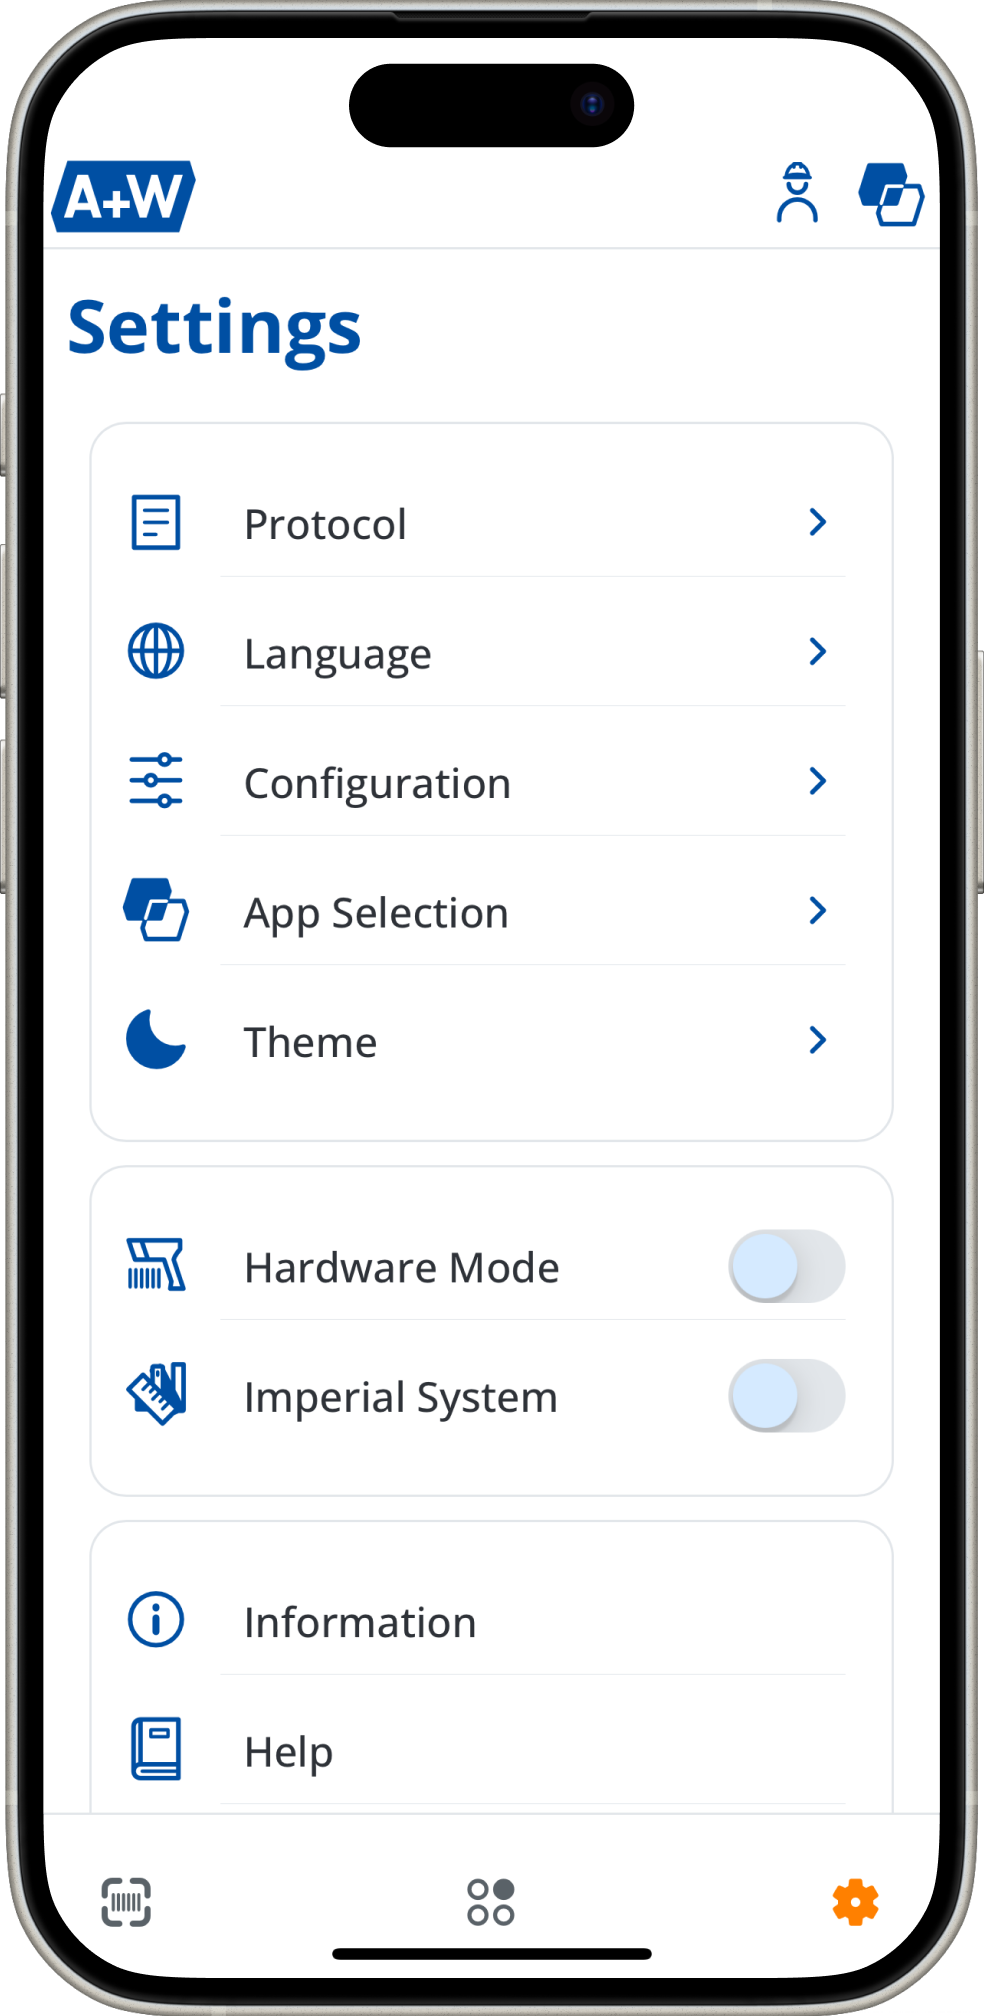
Here it is, it`s your choice dark side or light side – or decided by system setting
Supporting the Imperial system

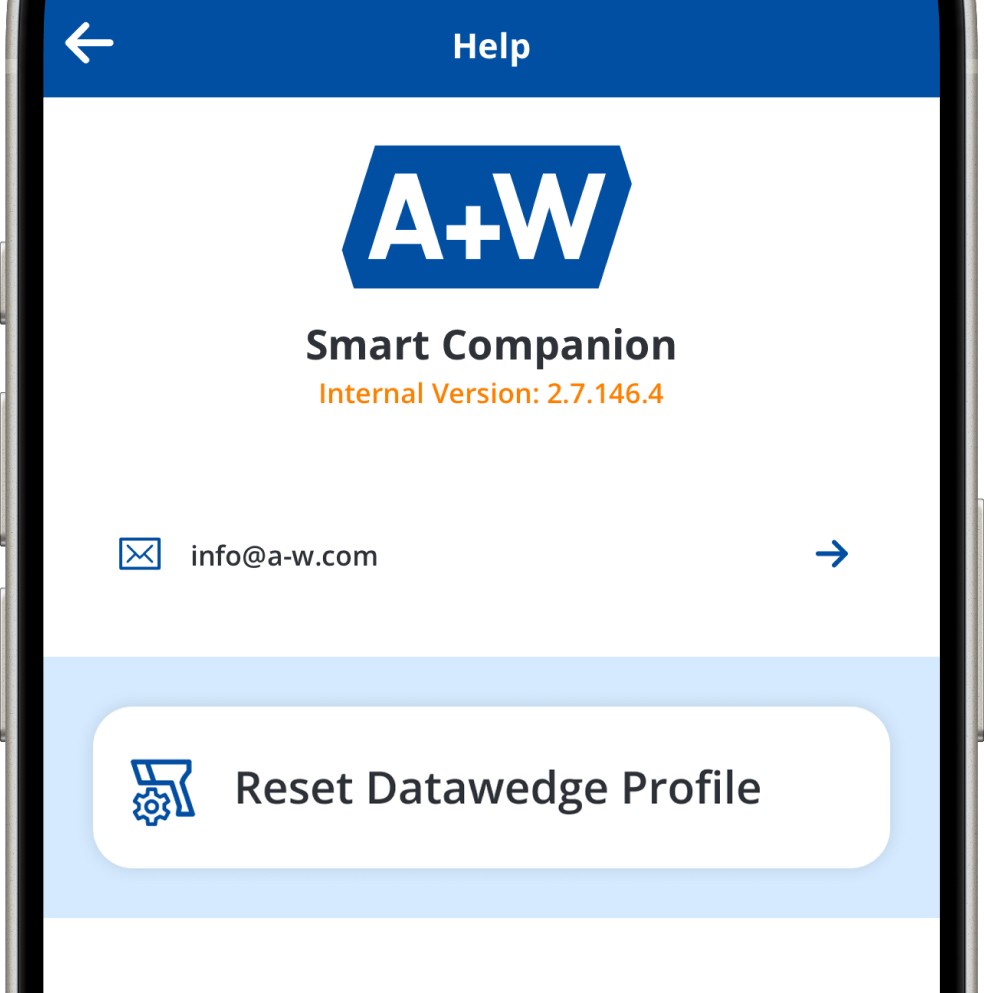
Configure Zebras DataWedge with one click.
The DataWedge Configuration Settings documentation explains how to properly set up the barcode scanning functionality for the A+W Smart Companion. You have two options:
- Configuration via A+W Smart Companion: Easily reset the DataWedge profile through the app settings.
- Manual Configuration: Adjusting the DataWedge profile settings, including modifying the intent output.
Detailed instructions can be found in the full documentation.